Pages

Showing posts with label diy. Show all posts

Sunday, December 22, 2013

Sharpie Mug DIY

I had first heard about these on abeautifulmess.com, they had done a His + Hers Sharpie Mug DIY and I thought that would be a perfect gift idea for someone one. So, I bookmarked it and went on my way. Then, Christmas comes around and I think it's perfect to throw in for our parents gifts, since they are becoming grandparents in the beginning of 2014.
 Things you will need:
~mugs - dollar store mugs work perfectly because they don't have the expensive glaze on them (that makes it harder for the sharpie to stick).
~Sharpie
~an oven

I was going to use washi tape to help decorate, but that didn't end up going so well.
 Decorate how ever you please. These are for my mom and dad. I decorated my mom's with gold polka dots and I left my dad's plain (otherwise he wont use it). Once decorated, it is important to let the sharpie's dry, which can take anywhere from 6 to 24 hours.
Then, place the mugs in the oven before you turn it on. Then turn it to 425 degrees Fahrenheit. I found that this higher temperature helps bake the sharpie on and making it last through the dishwasher. Turn the timer on for 30 minutes, once it goes off turn the oven off and leave the mugs in the oven. This is important so they don't crack. 
Then, here comes the BIG test, run it through the dishwasher. 

Wallah! 

Have fun making these!

Saturday, December 14, 2013

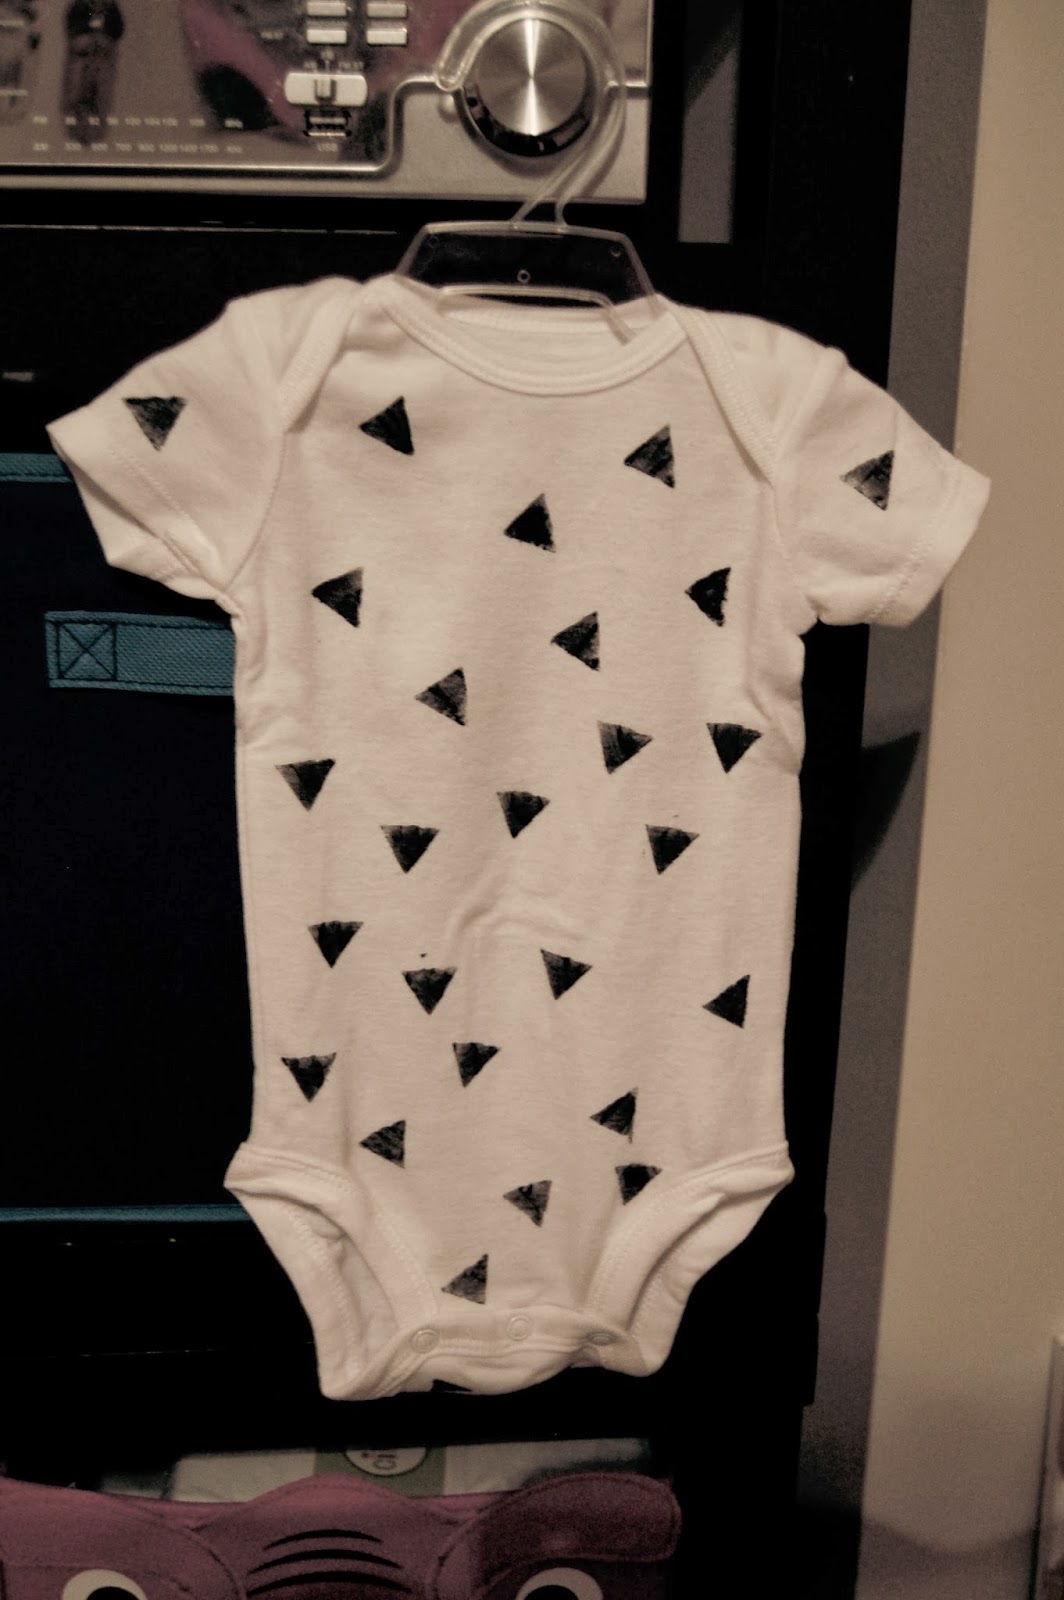
DIY Geometric Onesie


Things you will need:
onesie (the size you prefer)
fabric paint
paint brush 
potato
knife to cut the potato

I had seen Abi Porter form vanillaandlace.blogspot.com make one of these for her son, so I decided that I wanted to try it. It doesn't take any time at all, it took literally 10 minutes to do including drying time. So, last night I went out and bought 0-3 month onesies, fabric paint, and a potato. In the potato I cut out a triangle and used it like a stamp (if you already have a shape stamp that you want to use - go for it). I used black fabric paint and went stamping away. Make sure you let the front side dry before you go to the back.

I'll definitely be sharing pictures of little man in it! I think that geometric stuff for little boys is absolutely adorable. And I plan on make a few different colors and shapes.  I've been in such nesting mode that I have had all these plans for his part of the room, but I haven't had any energy to do so. So, I'm hoping that that'll change because I only have a few weeks left until I meet Alexander. It's time to hopefully get my move on. 

I must say, the end of my pregnancy is really kicking me in the butt. You know, the normal pregnancy aches and pains; Not being able to sleep comfortably, waking up multiple times to go pee, aching back, being overly tired on top of not sleeping well.. you know, the normal. AND I'm 34 weeks. But, I am definitely enjoying it while it lasts; an excuse to not have a flat tummy and always have to go and do things. Yes, I'm the lazy type. 

Wednesday, December 4, 2013

Updated Pillows // Living Room Update

In my bits and pieces about my living room I have/had these pillows that I just wasn't liking very much. They are the red/tan/brown ones that have circles and squares on them. Those pillows just didn't work for me, but they came with the couches when we got them, so I dealt with them until I was going to figure out what I wanted to do with them or I got new ones. Then, the other day while I was on Pinterest looking at different pillows, I had remembered that I had bought fabric a long time ago and hadn't done anything with it. So, when I took it out to look at it, it just worked.
 It worked by just fitting in with the random scheme of things. Of course she had to model.
 That adorable face, I just couldn't resist.
 I went ahead and made this couch the green and blue couch, since I had a blanket and everything flowed and matched. I absolutely love the touches the updated pillow gives. At least I am satisfied, for now.


 I had these three different types of fabric, so I decided to go ahead and remake all four pillows. It was pretty easy. I didn't do any exact measuring or anything. I laid the pillow on the fabric while it was in half and cut around it leaving enough room for error. Then I flipped the fabric inside out using the fold seem as and end. I hand stitched the two sides and then pulled the pillow out meanwhile flipping the cover right side out. The folding the two edges in, I stitched it on the outside as narrow and as close as possible, so it wouldn't be so noticeable. 
It's really simple to do, no matter what kind of pillow you have, especially if you have enough fabric on hand. I love these pillows ten times more and they don't irk me when I go out into the living room. And they are great to mix and match if I want!

Have you had any pillows that you have given a makeover?

Tuesday, December 3, 2013

Painted Branches // Dining Room Decor

So, knowing me, I always love to change things up. Pretty much all the time, especially when I'm sitting around the apartment doing absolutely nothing. That's pretty much when I come up with ideas to do things, i.e. move furniture around, change artwork, decorate pillows, make blankets.. whatever comes to mind, I'll do. Cody has come to the point of when he comes home, he just asks what I have changed or what new project have I decided to start doing. In a weird way, I like it. It keeps my creative juices flowing, but being 8 months pregnant, sometimes I find myself in a bad 'I can't lift this' situation. So, I've been having to take a little bit of a chill pill on rearranging furniture. But, that hasn't stopped me from moving things from one place to the next. 

ANYWAYS, I was out walking our dogs the other day and I just decided that I wanted to take a few branches inside and paint them, especially since I have paint and brushes sitting around not being used...so technically it was a free project for me. This branch is the only one that I decided to keep because all of the other ones turned out just not right. This piece works perfect in our dining room and definitely pulls the curtains in together.

What are some fun projects you have come up with while sitting at home?

Friday, November 29, 2013

Making our home Christmassy

1. Adding tea lights to mason jars and setting them about the house. // 2. Made a banner out of shiny red and silver paper (more on that soon.... and better photos). // 3. Made square snowflakes to hang over our dining room table. // 4. I love how they look with the lights on (especially at night). // 5. Added snowflakes over our couch. // 6. Still needing some new pillows, but I absolutely adore easy homemade decorations. // 7. Tea light lights.

We don't have a lot of Christmas decorations and while I have been on the hunt for some, I have made a few to keep my heart happy during this season. I more than likely wont be getting any until they go on sale or people start getting rid of more at thrift shops, so its a process. And I really want Cody to be involved in this process. 
Having a small apartment with not a lot of space as it is, it can get hard to have a tree and other things. What are some things you do to decorate during the holidays?

Sunday, December 16, 2012

Painting Inside Drawers

We just moved into an older town home. It was built in the 1970's, i think? Anyways, it's old. Had the original paint on the walls, the original wall paper on the wall, original everything. So, all my recent projects are having to do with the house. Eventually, whenever I get it all done, I'll do a home tour. Right now, I'm trying to do a room at a time, which can be hard sometimes.

Anyways, I have started this project because I hate what the inside of the cabinets and drawers look like. Basically, its just old looking.

What I used:
 - cleaner
 - sand paper
 - paint
 - foam brushes (i used the largest size)
 - drawer
 - patience

This is the inside of it, its an off white creamy color. I don't like it, so I wanted to refresh it.
 That is cockroach poop, which is disgusting because this particular drawer is my silverware drawer. So, I scrubbed and I scrubbed until I was satisfied (and I can be a major clean freak), then I sanded every little bit of it and washed out the saw dust and started painting. 
 It took about two coats to completely cover whatever was left of the other color. And I think the nice thing about this is, you can change it whenever your feeling spontaneous.
Now, it's all my drawers are white and pretty. And I like them a lot more. It's really simple, and I hope this inspires you to change something you might not being liking so much. Have a great Sunday!